WiFi Access Points are becoming more and more common these days, but which one is the best? Well, there’s an app for that!
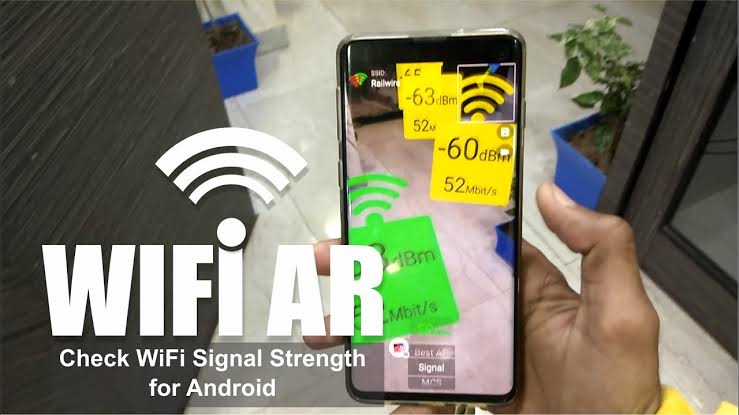
WiFi AR uses augmented reality to make it super easy to see which WiFi access point gives you the best signal! Learn how to use WiFi AR with this detailed guide on how to find the best WiFi access point near you.
Why use WiFi AR?
There are several reasons why you might want to use WiFi AR to find the best WiFi access point. First, it can help you save time by allowing you to see all of the available options in one place.
Second, it can help you save money by helping you find the most affordable option. Third, it can help you avoid dead zones by helping you find an access point that is close to you.
Fourth, it can help you find a more secure connection by allowing you to see which access points are encrypted. Fifth, it can help you find a faster connection by allowing you.
To see which access points have the strongest signal. Sixth, it can help you stay connected while on the go by allowing you to keep track of your devices’ battery life and signal strength.

Scanning Networks with WiFi AR
If you’re looking for a new place to set up your router or access point, you can use WiFi AR to find the best location. Here’s how:
- First, make sure that your device is connected to the internet and that you have the latest version of the Google app installed.
- Open the Google app and tap on the Search bar.
- Type in WiFi AR and tap on the first result.
- You’ll be taken to a page with instructions on how to use WiFi AR; follow these instructions to enable it on your device.
- Once you’ve enabled WiFi AR, open the Google app again and tap on the Search bar.
Editing the Devices in the List
- In order to use WiFi AR, you’ll need to have a compatible device.
- Once you have a compatible device, open the app and select Devices.
- From here, you can add or remove devices from your list.
- To add a device, simply select Add Device and then follow the instructions.
- To remove a device, select the Remove button next to the device’s name.
- Once you’ve made your changes, be sure to click Save in order to save them.
- That’s it! Now you know how to use WiFi AR to find the best WiFi access point for your needs.
Why do I see multiple SSIDs at my location?
You may be wondering why you see multiple SSIDs, or Service Set Identifiers, at your location. The answer is simple:
Each router emits a unique SSID, and most routers have the capability to broadcast multiple SSIDs. When you see multiple SSIDs, it means that there are multiple networks in range.
Your device is looking for the strongest signal from the network with which you want to connect. It does this by reading signal strength. A strong signal will generally mean better performance.
How do I find out which one has the best performance? The solution is easy with WiFi AR! Simply scan all of them with our handy app, and it will tell you which one has the best performance!
Analyzing and Comparing Networks Side by Side
If you’re looking for a new router or trying to optimize your home network, you may have come across the term WiFi 6. But what is it? How does it work?
And more importantly, how does it benefit you? It’s not just an upgrade of last year’s technology. With the implementation of WiFi 6, users can expect higher speeds
and less interference from nearby devices on their network. It also helps solve one of the most common problems we all face – too many networks available and no way to tell which one will provide you with better connectivity! That’s where WiFi AR comes in handy.

Optimizing Your Wi-Fi Setup
Most people don’t think about their home Wi-Fi network until they have a problem with it. If you’re lucky, your router was already configured by your internet service provider and all you had to do was plug it in.
But if you’re like most people, you probably had to log into your router’s web interface and change a few settings to get things up and running.
You might not know what these settings are, or you might not know how to find them. Luckily for you, we’re here to help! Here’s how to optimize your Wi-Fi setup using a simple app called WiFi AR (Free on iOS)
Closing Thoughts
Overall, using WiFi AR is a great way to find the best WiFi access point for your needs. It’s quick, easy, and can be done from anywhere.
Plus, it’s a great way to get a feel for the area before you even arrive. So if you’re looking for the best WiFi access point, make sure to give WiFi AR a try. You won’t regret it!
some benifitbenefits of WiFi AR
- With WiFi AR, you can see a list of all available WiFi networks in your area.
- You can filter the list of networks by strength, so you can find the strongest signal.
- You can also check for other factors that may affect your connection, such as interference from other
devices or walls. - Plus, with WiFi AR, you can see a preview of what the network will look like before you connect, so you can find the best location for your device.
Once you’ve found the perfect spot, just hold your device up to the router and follow the on-screen instructions to connect.